Select “Skyrim Special Edition Launcher” from the drop-down menu Select “Run” through Mod Organizer 2 and wait until the Skyrim main menu appears. Open the “Options” menu and select “Ultra” settings.Ĭhange the executable back to “SKSE” from the drop-down menu. In Mod Organizer 2, select “Skyrim Special Edition Launcher” from the drop-down menu Run the game in steam once and exit to finish the setup Select “Only update this game when I launch it” Go to the updates tab, select the drop-down menu for Automatic Updates Make sure “Enable the Steam Overlay while in-game” is deselected In Steam, right click Skyrim SE and select “Properties” In the Downloads tabDouble click each download to install it (You can rename the shortcut or change the icon if you want)If you run the game through Mod Organizer, MAKE SURE You will no longer run Skyrim SE through steam.To run Skyrim SE, use the new desktop shortcut or

Run setup with default settingsRun Mod Organizer 2Click nextSelect “Create Global Instance"Select "Skyrim Special Edition"If Skyrim SE is not listed,Ĭlick nextClick nextSelect "Connect to Nexus"On the nexus webpage, authorize if neededClick next once linkedFinishClick noClick yes


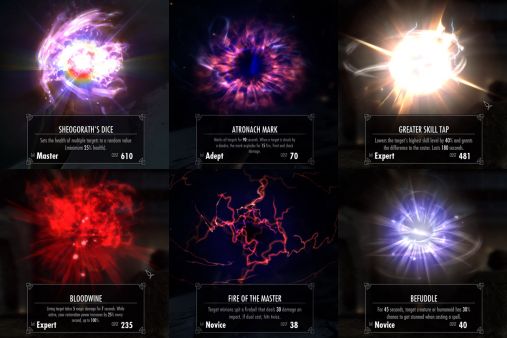
You want to do this right the first time. Read every line of direction and take your time. Everything you see in the screenshots can be achieved by completing this modding guide.


 0 kommentar(er)
